This post contains affiliate links. If you buy something from one of our links we may earn a commission. Thanks
Learn how to revive ferns with simple, effective tips. Solve issues like browning leaves, dryness, or overwatering to restore vibrant, healthy plants.
When your fern starts to wilt, turn brown, or drop its leaves, it’s natural to worry. Learning How to Revive Ferns doesn’t have to be a mystery.
With simple steps, you can identify the issue, adjust care routines, and bring your fern back to its lush, green glory.
How to Revive Ferns Key Takeaways
- To revive ferns, identify the problem—such as overwatering, dryness, or low humidity.
- Trim brown leaves, improve soil drainage, and adjust watering routines.
- Use humidity boosters like misting or pebble trays to mimic their natural environment.
- With consistent care, your fern can thrive again.
How to Revive Ferns and Stop Your Fern from Dying

When your fern begins to lose its vibrant green, the key to saving it lies in acting fast.
Timely intervention can make all the difference between a struggling plant and a thriving one.
This guide will walk you through the steps to diagnose the issue, treat your fern, and prevent future problems for long-term health.
1. Diagnosing the Problem
Timely diagnosis is crucial for reviving a struggling fern. By identifying the root cause of its decline, you can take targeted actions to restore its health.
- Yellowing Leaves: Often caused by overwatering or poor drainage.
- Brown Tips: Indicate low humidity or excessive fertilizer use.
- Drooping Fronds: Can result from underwatering or low light levels.
- Root Health: Check for soggy or rotten roots, a sign of overwatering or root rot.
2. Treating a Dying Fern
Once you’ve pinpointed the issue, quick treatment can help revive your fern. Tailor your approach based on the specific symptoms.
- Overwatered Ferns: Allow soil to dry partially and improve drainage.
- Underwatered Ferns: Soak the root ball thoroughly, then water consistently.
- Yellow Leaves: Remove affected leaves and adjust watering habits.
- Root Rot: Trim damaged roots and repot in fresh, well-draining soil.
3. Creating the Ideal Environment
A healthy environment ensures your fern can thrive after recovery. Focus on mimicking its natural habitat.
- Light: Place in bright, indirect sunlight to prevent leaf scorch.
- Humidity: Use pebble trays, humidifiers, or misting to maintain moisture.
- Soil: Opt for a mix that includes peat moss, coco coir, and perlite.
- Temperature: Keep the room between 65°F and 75°F for optimal growth.
4. Preventing Future Decline
Consistency is key to maintaining a healthy fern and avoiding repeat issues. Incorporate these preventive measures into your routine.
- Watering Schedule: Water when the top inch of soil is dry.
- Pruning: Regularly trim dead or damaged fronds.
- Fertilizer: Use diluted liquid fertilizer every 4-6 weeks during the growing season.
- Monitoring: Keep an eye out for early signs of stress, like discoloration or wilting.
5. When to Let Go
Unfortunately, not all ferns can be saved. Recognizing when to start fresh can save time and effort.
- Signs Beyond Recovery: Completely rotted roots, no new growth, or extensive leaf loss.
- Eco-Friendly Disposal: Compost your fern to give back to the earth.
- Starting Over: Choose a beginner-friendly fern and apply the lessons learned from this experience.
By acting quickly and following these steps, you’ll give your fern the best chance to recover and thrive. Let’s bring your plant back to life!
Part 1: Identifying the Problem

Reviving a fern starts with pinpointing the cause of its decline.
Whether it’s yellowing leaves, crispy edges, or drooping fronds, each symptom tells a story about what your plant needs.
In this section, we’ll explore how to diagnose your fern’s struggles and set the foundation for its recovery. Let’s uncover the root of the issue!
1. Diagnosing a Dying Fern
Understanding the signs of a struggling fern is the first step in its revival.
From drooping fronds to discolored leaves, each symptom provides clues about the underlying issue.
Here’s how to identify what your fern needs:
- Wilting Fronds: Indicates dehydration or poor root health.
- Discolored Leaves: Yellowing may signal overwatering; brown edges could mean low humidity.
- Loss of Foliage: A response to stress, often caused by environmental shifts.
- Critical vs. Minor Issues: Determine if symptoms are surface-level or indicate root damage.
2. Common Causes of Fern Decline
Ferns can struggle for many reasons, but identifying the most common culprits can help you act quickly.
Address these issues to set your plant on the path to recovery:
- Watering Issues: Overwatering causes root rot, while underwatering leads to dehydration.
- Light Conditions: Ferns need indirect light; direct sunlight can scorch their delicate fronds.
- Humidity Problems: Low humidity makes leaves crispy and dry.
- Pest Infestations: Watch for spider mites, mealybugs, or scale insects damaging the leaves.
- Nutrient Deficiencies: A lack of proper nutrients may cause stunted growth or pale fronds.
3. Identifying Fern Root Rot
Root rot is a silent killer for ferns, often caused by overwatering or poor drainage. Spotting it early can save your plant.
Here’s what to look for and how to act:
- Symptoms of Root Rot:
- Foul, sour smell from the soil.
- Mushy, darkened roots upon inspection.
- Wilting fronds despite proper watering.
- Steps to Confirm and Treat:
- Gently remove the plant from its pot and inspect the roots.
- Trim away affected roots with sterilized scissors.
- Repot the fern in fresh, well-draining soil and a clean pot.
Part 2: Addressing Specific Issues
 BubbleBlooms Button Fern in a 4 inch Pot Pellaea rotundifolia
Once you’ve identified the problem with your fern, the next step is to tackle it head-on.
Whether it’s overwatering, underwatering, or environmental stress, timely and targeted interventions can breathe life back into your plant.
This section outlines practical solutions for the most common fern care challenges.
How to Revive Overwatered Ferns
Overwatered ferns suffer from soggy roots and reduced oxygen uptake. Here’s how to help:
- Allow the soil to dry out slightly before the next watering.
- Check for drainage issues and repot with well-draining soil if needed.
- Elevate the pot or use a tray to prevent standing water.
How to Save Underwatered Ferns
Underwatered ferns show signs of drooping and dry fronds. Follow these steps:
- Soak the pot in a basin of water for 10-15 minutes to rehydrate the roots.
- Mist the leaves regularly to provide immediate humidity.
- Establish a consistent watering schedule to avoid future dehydration.
Dealing with Yellowing Leaves
Yellowing leaves often signal nutrient issues or improper watering. Address the causes:
- Adjust watering practices to prevent overwatering or underwatering.
- Use a balanced fertilizer to correct nutrient deficiencies.
- Inspect for pests and treat with natural or chemical remedies if found.
Brown Tips on Fern Leaves: Solutions
Brown tips result from low humidity or inconsistent care. Try these remedies:
- Increase humidity with a humidifier or pebble tray.
- Water deeply and consistently, ensuring the soil stays moist but not soggy.
- Avoid over-fertilizing, which can burn the leaves.
Addressing Fern Leaf Drop
Leaf drop can occur from sudden changes in the environment or stress. Remedy this by:
- Identifying the stressor, such as a recent transplant or drastic temperature change.
- Provide stable conditions with consistent light, water, and humidity.
- Prune damaged leaves to encourage new growth.
How to Save a Sunburned Fern
Ferns exposed to excessive sunlight can develop scorched fronds. Here’s what to do:
- Move the plant to a shadier location with indirect light.
- Trim damaged fronds to direct the plant’s energy to healthy growth.
- Water thoroughly and mist to aid in recovery from dehydration.
Part 3: Creating Recovery Conditions

To bring a struggling fern back to health, you need to recreate the conditions it thrives in.
This section focuses on essential environmental adjustments and care routines to support your fern’s recovery.
By optimizing humidity, soil, and lighting, you can provide the ideal environment for your fern to regain its lush, vibrant appearance.
10. Using Humidity to Revive a Dying Fern
Humidity plays a vital role in a fern’s recovery, especially if it’s been struggling with dry indoor air.
- Set Up Pebble Trays: Place your fern’s pot on a tray filled with water and pebbles to increase ambient humidity.
- Use a Humidifier: Maintain consistent moisture levels in the air with a humidifier.
- Mist Regularly: Lightly mist the fronds daily to mimic their natural environment.
- Ideal Humidity Levels: Aim for 50–80% humidity, depending on the fern species.
11. Best Soil Adjustments for Fern Revival
Healthy soil is the foundation for a recovering fern, as it influences water retention, root development, and overall plant vitality.
Choosing the right soil can make all the difference in reviving your plant.
Choose Sustainable, Well-Draining Mixes:
-
- Opt for soil blends that prioritize coco coir and perlite over peat moss.
- Coco Coir Benefits: Renewable, eco-friendly, and excellent for retaining moisture without becoming waterlogged.
- Perlite Advantages: Improves aeration and drainage, ensuring roots stay oxygenated.
- Avoid Compacted Soil:
- Regularly loosen the soil to prevent root suffocation.
- Compacted soil restricts water flow and hinders root expansion.
- Ensure Proper pH Balance:
- Indoor ferns thrive in slightly acidic soil with a pH range of 5.0–6.5.
- Test soil pH periodically and adjust with natural amendments if needed.
- Repot with Fresh Soil:
- Replace old soil if it smells sour, feels excessively heavy, or shows signs of poor drainage.
- Use a fresh, well-draining mix tailored to ferns for an instant boost.
By choosing sustainable materials like coco coir and perlite, you enhance root growth and soil health and contribute to environmentally friendly gardening practices.
12. Pruning to Save a Dying Fern
Pruning removes damaged parts and allows the fern to redirect energy into healthy growth.
- Cut Damaged Fronds: Remove yellow, brown, or dead leaves carefully at the base.
- Use Clean Tools: Sterilize scissors or shears to prevent disease spread.
- Promote Air Circulation: Thinning dense foliage helps prevent mold and pests.
- Timing: Prune during the active growing season for best results.
13. Reviving Indoor Ferns in Winter
Winter presents unique challenges for indoor ferns. With the right adjustments, you can help them thrive.
- Avoid Drafts: Keep ferns away from cold windows and heating vents.
- Stable Temperature: Maintain indoor temperatures between 60–75°F.
- Reduce Watering: Ferns grow slower in winter, so water sparingly to prevent root rot.
- Maximize Light: Use grow lights or move the plant to a brighter spot if natural light is insufficient.
14. When to Repot a Dying Fern
Repotting can give a dying fern the fresh start it needs by providing new soil and space for roots to grow.
- Look for Signs: Repot if the fern is root-bound or the soil is compacted and no longer drains well.
- Choose a Larger Pot: Select a pot 1–2 inches larger in diameter than the current one.
- Repotting Steps:
- Gently remove the fern from its pot.
- Trim any rotten or entangled roots.
- Replant with fresh soil and water lightly.
- Post-Repot Care: Keep the plant in a stable environment with adequate humidity to reduce transplant shock.
Part 4: Supporting Long-Term Recovery

Reviving a fern doesn’t end with immediate care; ensuring long-term health requires consistent attention and preventive measures.
By creating the right conditions and staying vigilant, you can help your fern not only recover but also thrive for years to come.
Let’s explore how to support your fern’s sustained recovery with practical strategies and ongoing care.
15. Fern Recovery Timeline: What to Expect
Restoring a struggling fern to health takes time and patience. Understanding the typical recovery stages will help you set realistic expectations and avoid unnecessary stress.
- Initial Improvement (1-2 Weeks):
- Signs: Reduced wilting, slight color restoration, and stabilization of fronds.
- Actions: Continue consistent care like proper watering, humidity, and indirect light.
- New Growth Emergence (3-6 Weeks):
- Signs: Fresh fronds beginning to unfurl.
- Actions: Maintain a balanced routine with regular feeding and monitoring for pests.
- Full Recovery (2-3 Months):
- Signs: Vigorous growth and lush foliage.
- Actions: Gradually return to a standard care routine while maintaining preventive measures.
Recovery times may vary based on the severity of the issue and fern species. Consistency and attention to detail are your keys to success!
16. How to Handle Fern Transplant Shock
Transplant shock can leave your fern looking droopy and stressed, but with the right steps, you can help it bounce back.
Minimizing stress and offering extra care post-transplant is crucial.
- Minimizing Stress During the Transplant:
- Acclimate Gradually: Place the fern in its new pot for short intervals before fully transitioning to a new environment.
- Handle Roots Gently: Avoid damaging or exposing roots for too long during the process.
- Choose the Right Pot: Ensure proper drainage and select a pot size slightly larger than the root ball.
- Post-Transplant Care Tips:
- Water Sparingly: Avoid overwatering immediately after the transplant; keep the soil slightly moist.
- Provide Indirect Light: Place the fern in a location with bright, indirect light to prevent further stress.
- Maintain Humidity: Use a pebble tray or misting to create a humid microclimate around the fern.
- Avoid Fertilizing Immediately: Give the roots time to establish before introducing any fertilizers (wait 3-4 weeks).
With gentle care and patience, your fern will adapt to its new home and resume healthy growth.
17. Using Fertilizer to Help a Dying Fern
Fertilizer can give your struggling fern the nutrients it needs to regain strength and vitality.
However, weakened plants require a gentle approach to prevent further stress.
-
Selecting Balanced Fertilizers for Weakened Plants:
- Opt for Diluted Fertilizers: Use a balanced liquid fertilizer (e.g., 10-10-10 or 20-20-20) diluted to half or quarter strength.
- Look for Slow-Release Options: These provide consistent nutrients without overwhelming the plant.
- Choose Organic Fertilizers: Products like seaweed extract or fish emulsion are gentle and beneficial for stressed plants.
-
How and When to Apply for Optimal Results:
- Wait for Signs of Recovery: Allow the fern to stabilize before applying fertilizer, usually 2-3 weeks after revival efforts begin.
- Apply Sparingly: Feed once a month during the growing season; avoid fertilizing in winter dormancy.
- Water First: Always water the soil before applying fertilizer to prevent root burn.
- Focus on the Soil, Not the Fronds: Avoid foliar feeding on damaged leaves, as they are less likely to absorb nutrients effectively.
With the right fertilizer and application techniques, your fern can rebuild its health and flourish once more.
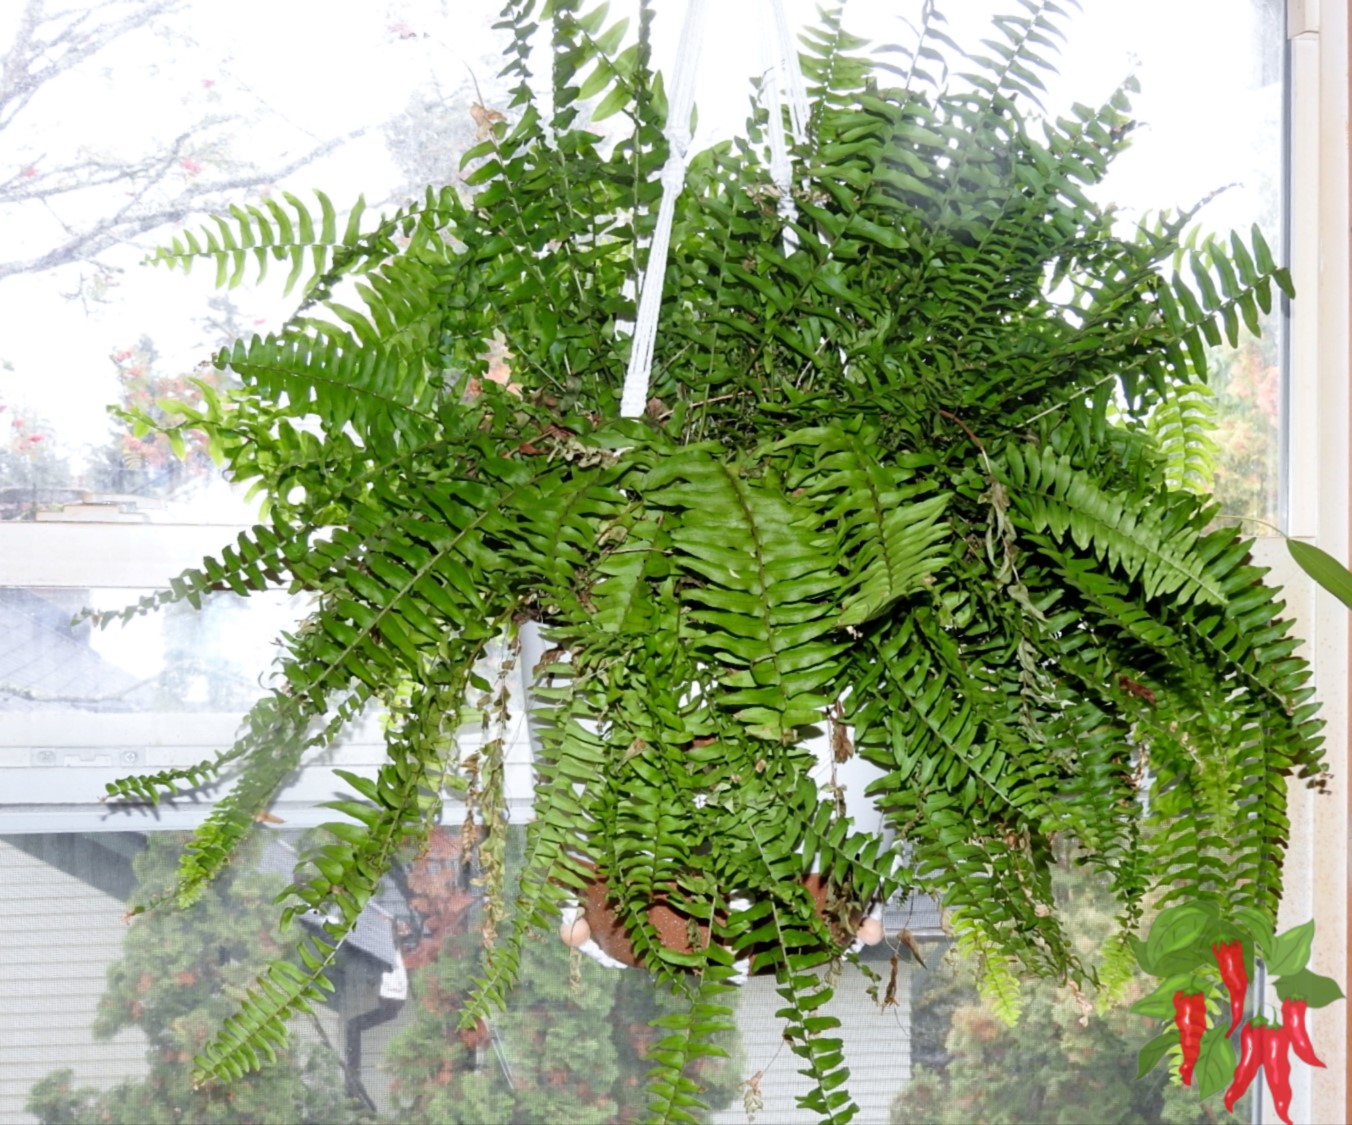
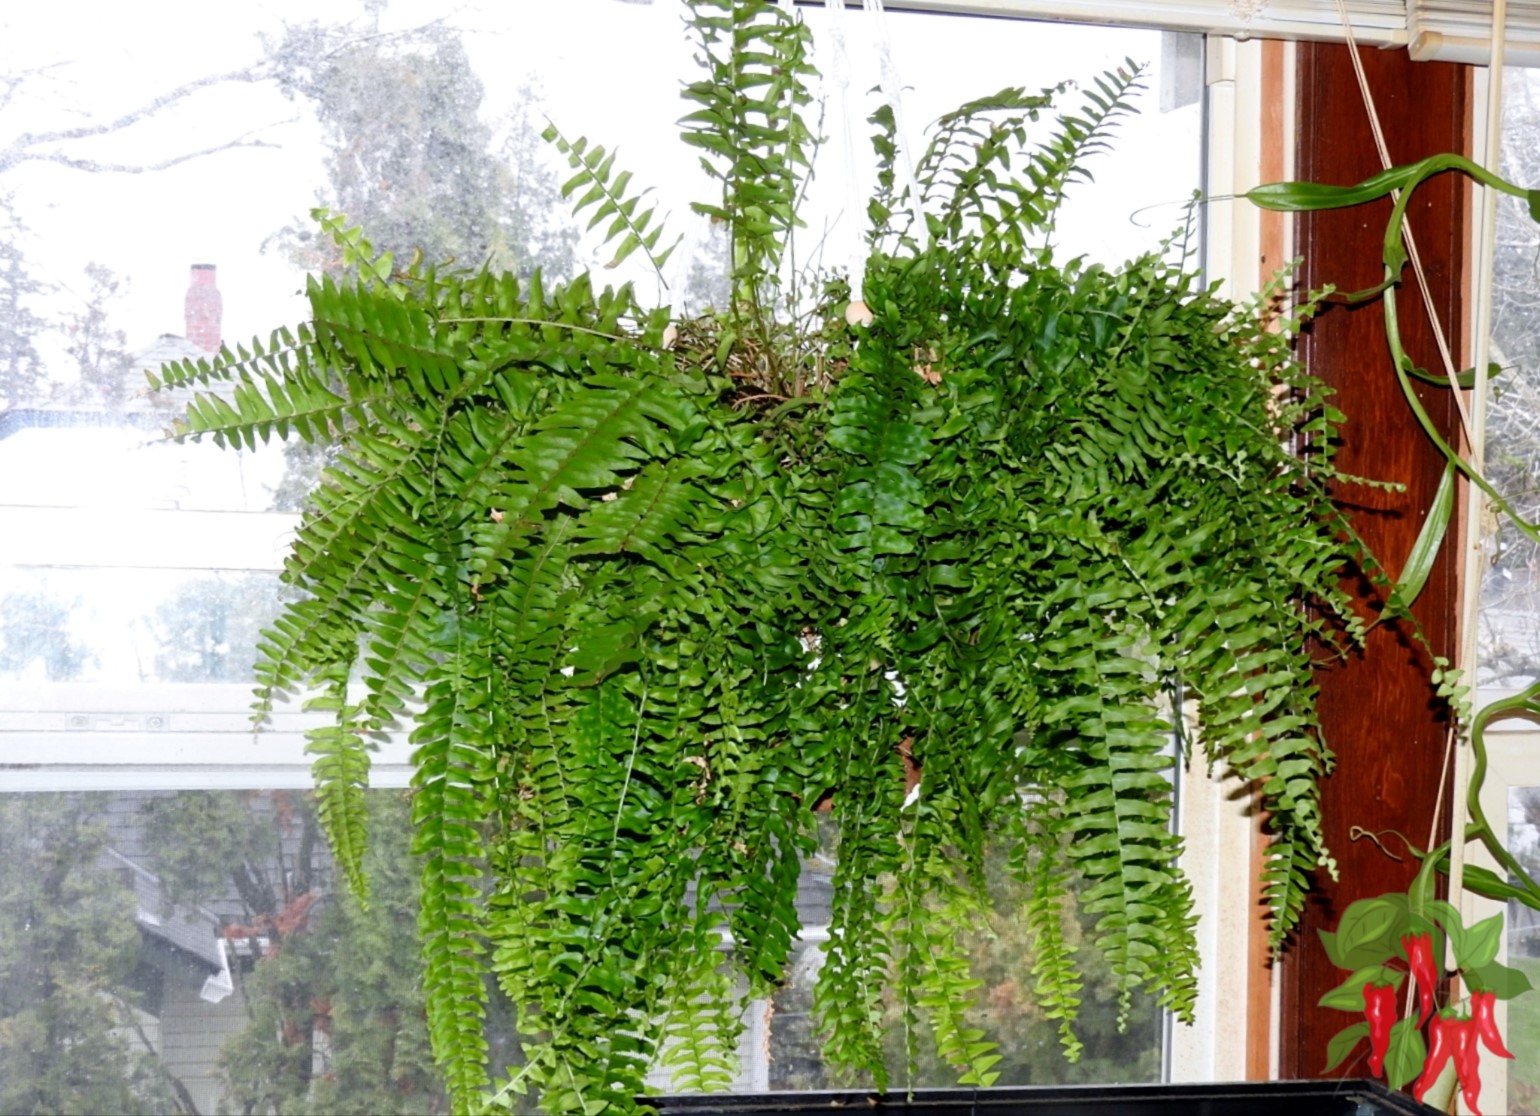
Part 5: How to Revive a Boston Fern

Reviving a Boston Fern requires specific care, as this popular variety thrives in high humidity and consistent conditions.
If your Boston Fern is showing signs of decline, follow these steps to restore its lush and vibrant appearance.
1. Diagnose the Problem
Identify the issue causing stress to your fern:
- Dry, Crispy Leaves: Indicates low humidity or underwatering.
- Yellowing Fronds: This could be due to overwatering or poor drainage.
- Browning Tips: Points to inconsistent watering or low humidity.
2. Improve Humidity Levels
Boston Ferns love humid environments. Try these solutions:
- Misting: Lightly mist the fronds daily to increase moisture.
- Pebble Trays: Place the pot on a tray filled with water and pebbles.
- Humidifier: Use a humidifier to maintain a humidity level of 50–70%.
3. Adjust Watering Practices
Keep soil consistently moist but not waterlogged:
- Check Soil Moisture: Water when the top inch of soil feels slightly dry.
- Avoid Overwatering: Ensure proper drainage to prevent root rot.
- Soak Dried-Out Plants: Rehydrate severely dry soil by soaking the pot in water for 15–20 minutes.
4. Trim Damaged Fronds
Remove yellowed or brown fronds to encourage healthy new growth:
- Use sharp, clean scissors to cut at the base of the damaged fronds.
- Prune regularly to maintain a tidy and healthy appearance.
5. Ensure Proper Light Conditions
Boston Ferns thrive in bright, indirect light:
- Place near a window with filtered sunlight.
- Avoid direct sunlight, which can scorch the leaves.
6. Refresh the Soil
If the fern is not recovering, check the soil:
- Replace with a well-draining mix of coco coir, perlite, and compost for better aeration and moisture retention.
- Repot if the roots are compacted or if the soil smells sour.
7. Monitor Progress
Recovery takes time, so be patient:
- Consistently follow the care routine and check for signs of new growth.
- Adjust your approach based on your fern’s condition.
Reviving a Boston Fern can be highly rewarding. With consistent care and the right adjustments, your fern can regain its lush, green beauty and thrive in your indoor space.
Part 6: Prevention and Maintenance
 (2\" Pots) Terrariums | Fairy Gardens | Assorted Varieties") Mini Fern Plants (6 Plants) (2″ Pots) Terrariums | Fairy Gardens | Assorted Varieties
Mini Fern Plants (6 Plants) (2″ Pots) Terrariums | Fairy Gardens | Assorted Varieties
Preventing future issues is the key to keeping your ferns thriving long after their recovery.
A proactive approach to care ensures your plants stay healthy, vibrant, and resistant to common problems.
In this section, we’ll explore effective strategies for maintaining your ferns and avoiding setbacks so you can enjoy their lush beauty for years to come.
18. Preventing Future Decline in Revived Ferns
Once your fern has recovered, maintaining its health is crucial to prevent a relapse.
A consistent care routine and environmental monitoring are your best tools for success.
- Create a Routine: Establish daily, weekly, and monthly care tasks, including watering, misting, and cleaning leaves.
- Monitor the Environment: Regularly check humidity, light, and temperature levels to ensure optimal growing conditions.
- Early Detection: Look for early signs of stress, such as drooping leaves or discoloration, and address issues immediately.
- Nutrient Support: Use a balanced fertilizer every few months to keep your fern nourished.
By staying vigilant, you’ll create a thriving environment where your fern can flourish for the long term.
19. DIY Remedies for Dying Ferns
Sometimes, simple homemade solutions can work wonders for a struggling fern.
These remedies are cost-effective and often utilize items you already have at home.
- Neem Oil Spray: Dilute neem oil with water for a safe and effective natural pest control solution.
- DIY Compost: Enrich the soil with homemade compost made from kitchen scraps or use worm castings for added nutrients.
- Humidity Boosters:
- Place a bowl of water near the fern to increase ambient moisture.
- Use a pebble tray filled with water under the pot to maintain consistent humidity.
- Banana Peel Fertilizer: Steep banana peels in water and use the liquid to provide a natural potassium boost.
These simple remedies can help strengthen your fern and prevent common issues.
20. Signs a Fern Can’t Be Revived
While most ferns can recover with the right care, some may be beyond saving. Recognizing when it’s time to let go allows you to focus on starting fresh.
- Dead Roots: If the roots are entirely mushy, black, and no longer firm, recovery is unlikely.
- Complete Defoliation: A fern with no remaining fronds or signs of new growth may not bounce back.
- Persistent Pests or Diseases: Severe infestations or recurring diseases can overwhelm the plant despite interventions.
What to Do Next:
- Propagate Healthy Sections: If some parts of the fern are still alive, propagate them to grow a new plant.
- Start Fresh: Replace the dying plant with a new fern and apply lessons learned to keep it healthy.
Knowing when to move on helps you maintain a healthy, thriving indoor garden.
How to Revive a Dying Fern Plant FAQs
Indoor ferns are popular for their beauty and air-purifying qualities, but they can be sensitive to environmental changes.
Reviving a dying fern starts with understanding what’s going wrong. Here are some common questions to guide you through the process of restoring your plant.
Q. Why is my fern dying?
A. Ferns can decline due to overwatering, underwatering, low humidity, or exposure to direct sunlight. Identifying and addressing the cause is the first step to revival.
Q: Why is my indoor fern dying?
A: Your fern may be dying due to overwatering, underwatering, low humidity, or insufficient light. Common signs include yellowing leaves, crispy fronds, or drooping foliage. Address the issue by diagnosing the symptoms, adjusting care routines, and ensuring consistent humidity and proper light exposure.
Q: Can you revive a dried-out fern?
A: Yes, you can revive a dried-out fern by rehydrating the soil with a thorough soak, increasing humidity with misting or pebble trays, and trimming dead fronds. Place the fern in indirect light and monitor its progress as it begins to recover.
Q. Should I cut off brown fern leaves?
A. Yes, removing brown or crispy leaves helps the plant focus its energy on healthy growth. Use sharp, sterilized scissors to prune damaged fronds.
Q. Why is my fern turning brown and crispy?
A. This is often a sign of low humidity, dry soil, or too much direct sunlight. Increase humidity with misting or pebble trays and adjust watering.
Q. Can you revive a dried-out fern?
A. Yes, rehydrate the fern by soaking the pot in water for 10-15 minutes. Maintain consistent watering and boost humidity to aid recovery.
Q. How do I revive a Boston Fern?
A. Boston Ferns thrive in humid, indirect light. Trim brown fronds, mist regularly, and ensure the soil stays evenly moist but not soggy.
How to Revive Ferns: Conclusion
Bring Your Fern Back to Life
Reviving a struggling fern might feel like a big task, but with the right care and attention, it’s absolutely achievable.
Whether your fern is suffering from browning leaves, drooping fronds, or stunted growth, identifying its needs and providing targeted care can restore its health and vibrancy.
These efforts not only save your plant but also enhance its natural beauty and air-purifying benefits for your home.
Recapping How to Revive a Dying Fern Plant
Diagnose the Issue
- Identify the root cause, whether it’s overwatering, underwatering, low humidity, or nutrient deficiencies.
- Look for specific signs like yellowing leaves, mushy roots, or crispy fronds to guide your approach.
Adjust Care
- Modify care routines based on the fern’s specific needs.
- Increase or decrease watering based on soil conditions.
- Boost humidity with misting, humidifiers, or pebble trays.
- Adjust light exposure to avoid direct sunlight or overly dim spots.
- Prune damaged fronds to encourage healthy regrowth.
Monitor Progress
- Track changes in the fern’s appearance and overall health.
- Stay consistent with care routines, ensuring the plant has time to adapt and recover.
Key Takeaways
- Balanced Soil: Use well-draining, nutrient-rich soil with coco coir and perlite to support root health.
- Humidity Boost: Maintain a humid environment with regular misting or by placing the plant near a humidifier.
- Prune Strategically: Remove damaged or dead fronds to redirect energy toward new growth.
- Patience Pays Off: Ferns require time to recover fully; consistent care and monitoring are key to success.
Embrace the Rewards of Caring for Ferns
Reviving a fern takes dedication, but the results are incredibly rewarding. Not only will your fern regain its lush greenery, but you’ll also develop a deeper understanding of its unique needs, making you a more confident and skilled plant owner.
With proper care and attention, your ferns will thrive, transforming your home into a vibrant oasis of greenery and serenity.
🌿 Indoor Fern Guides
Bring lush greenery into your home! These expert guides will help you grow, revive, and care for beautiful indoor ferns with ease.
Related Content


Visit my Amazon Influencer Page for videos and gardening products Grow Your Own Garden